How to Move Your Files to the New Chili Cloud?
Moving Your Files to the New Chili Cloud
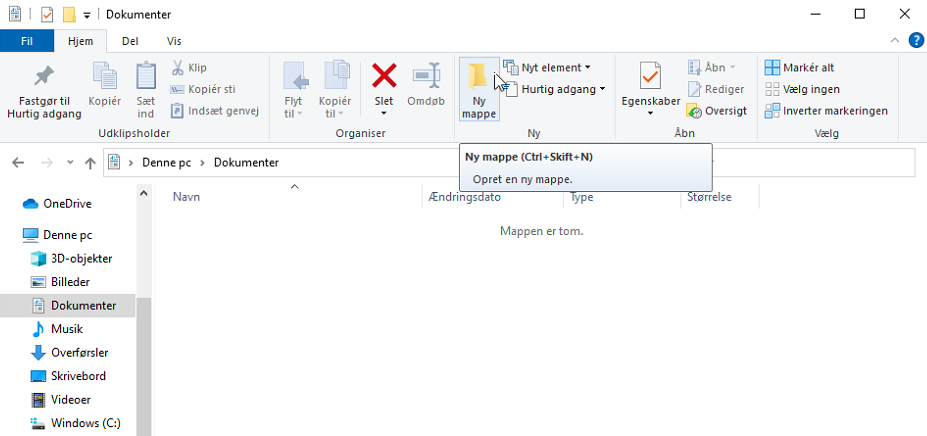
1. Go to Documents and click on New folder to create a new folder that you can move your files to from the old Chili Cloud Client. If you wish to rename the folder then right click on the folder, choose rename and enter the folder name you desire.
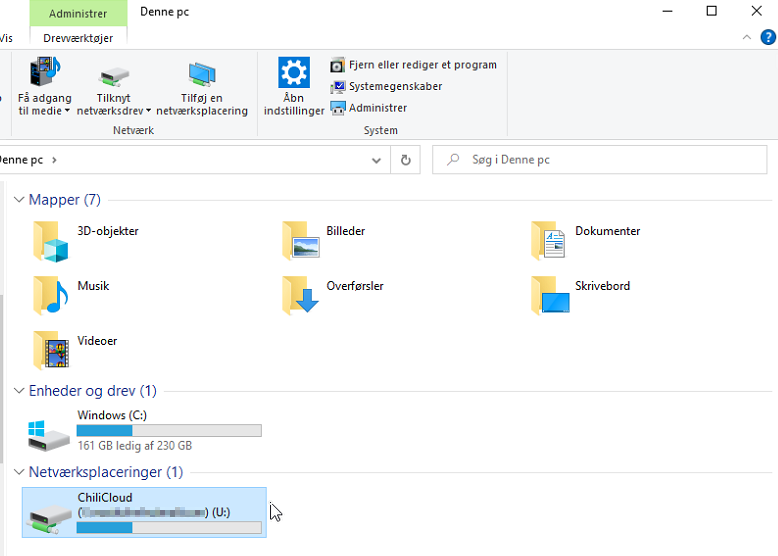
2. To move your files from the old Chili Cloud Client and to the new one, go to This PC and choose your Chili Cloud folder (the “U” folder).
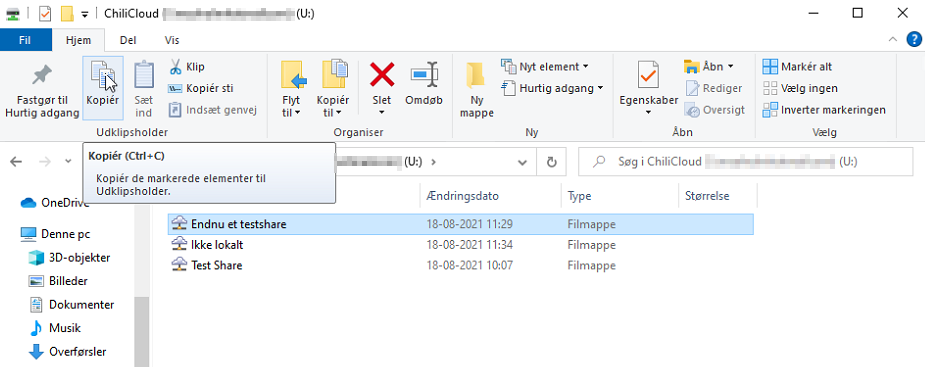
3. To copy the content of the folder, choose a folder and click copy. We recommend that you move one folder at a time to facilitate the transfer process.
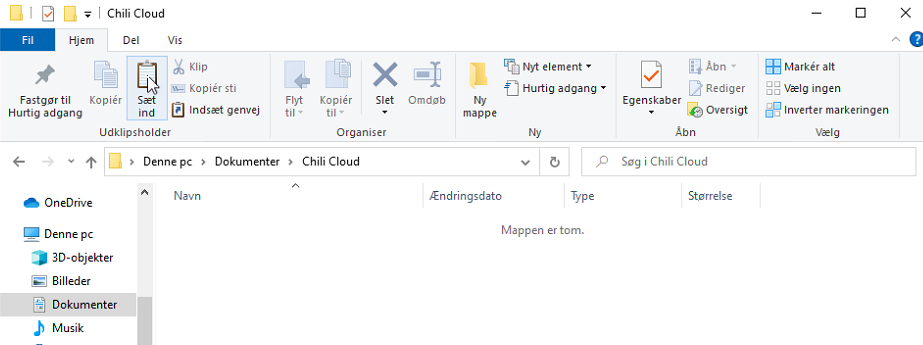
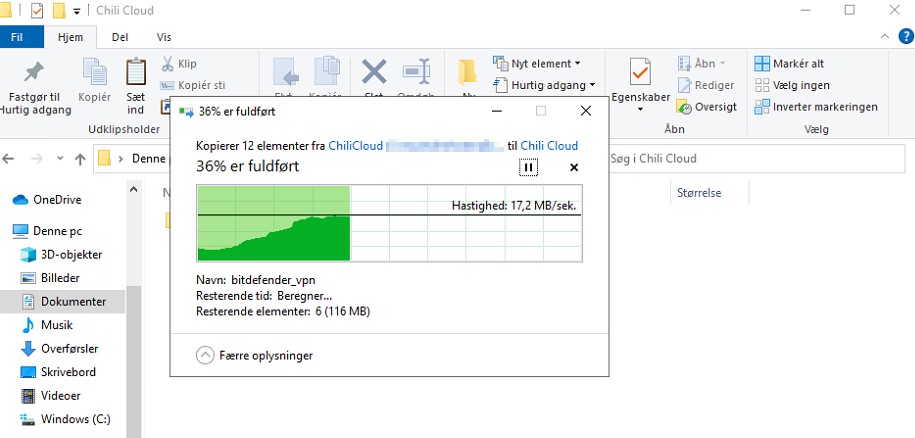
4. Go to the new folder that you have created and click paste to move the content that you have copied from the old Chili Cloud to the new one.
Then your files will be moved to your new Chili Cloud folder.
When you have completed this process with all of the files from your old Chili Cloud, you can delete the files from the old Chili Cloud and uninstall the old Chili Cloud app.
- Click here to see, how to uninstall the old Chili Cloud from your device!
Is there anything else that we can help you with? Then read on below:
- How to activate Chili Cloud?
- How to use your Chili Cloud sync folder?
- How to update the Windows client?
- How to remove the Windows client?
- Proxy configuration